
Installation 
To get the full experience with the STM32 extension in Visual Studio Code, follow these steps:
-
Open Visual Studio Code.
-
Navigate to the Extensions view by clicking on the Extensions icon in the Activity Bar on the side of the window.
-
Search for “STM32” in the Extensions Marketplace.
-
Click on the “Install” button.
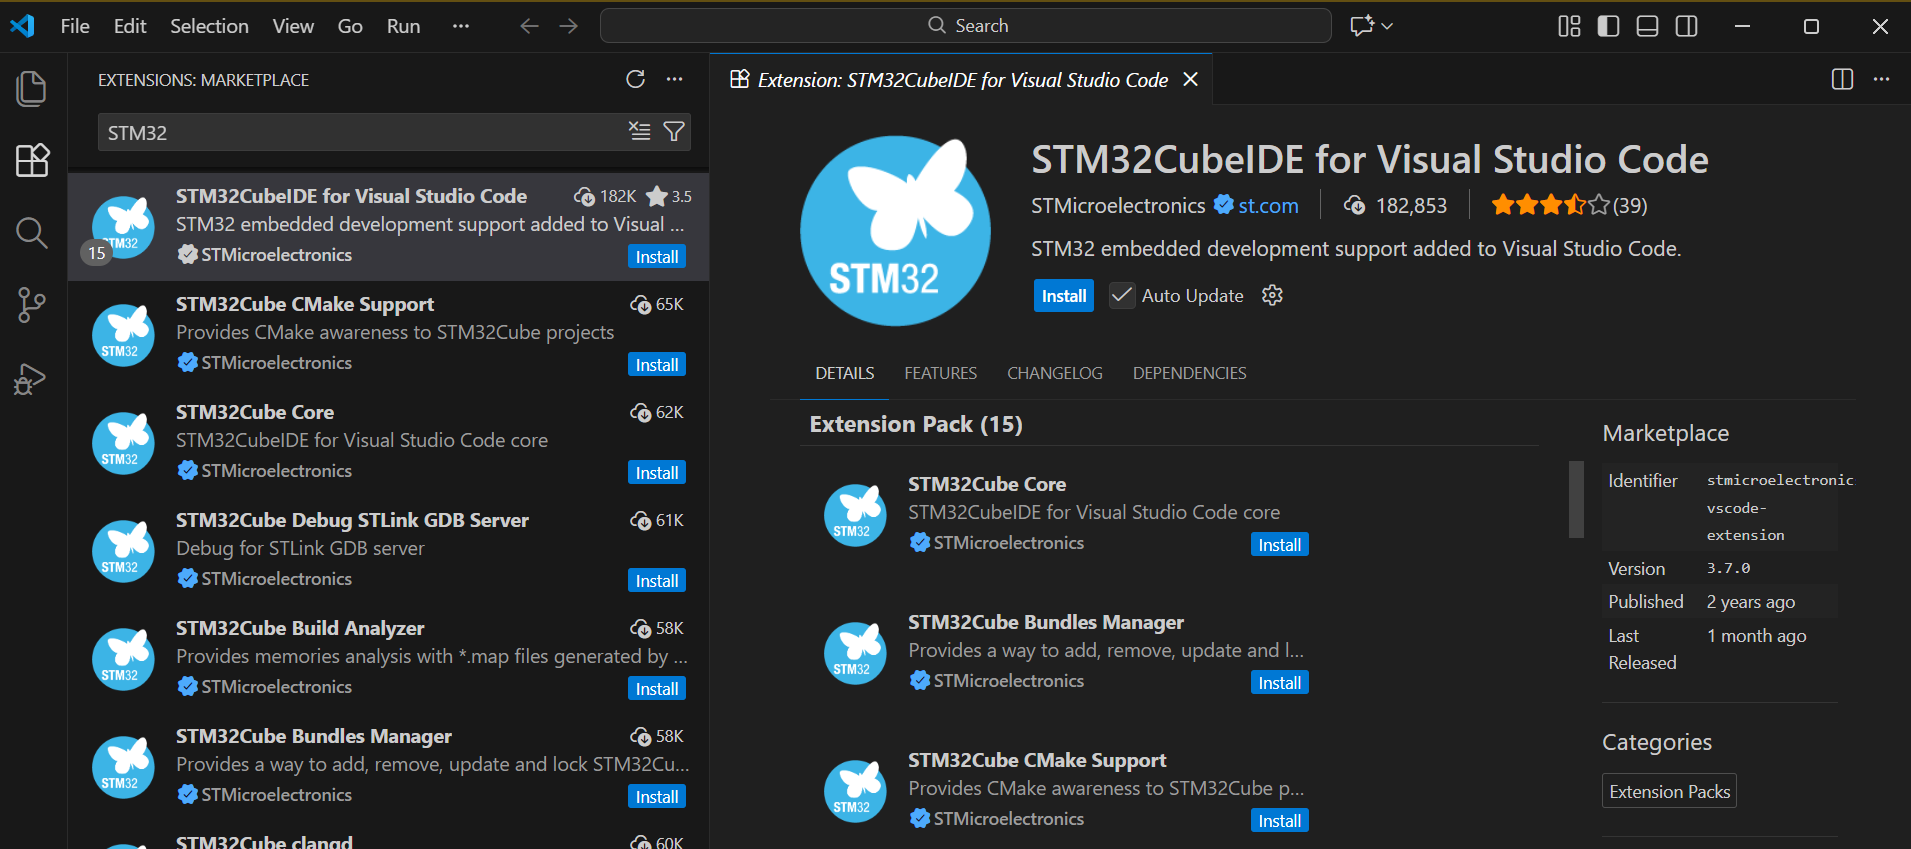
Cherry-Picking Extensions If you prefer to install only specific parts of the STM32 extension, you can cherry-pick individual extensions that the main extension depends on. Click “Install” on each extension you wish to add to your development environment. This approach allows you to customize your setup by selecting only the extensions you need.
If you want to use the CLI to install a specific version, read the Installing a Specific Bundle Version chapter.
Note
If you are migrating from STM32 VS Code Extension 2.0 , read the Migrating from VS Code extension 2.x to 3.x chapter.
If you are new to STM32 development in Visual Studio Code , read the First project creation chapter to get started with your first project.
By following these steps, you can easily set up the STM32 extension in VS Code to suit your development needs.
Install drivers
Note
For the current release version the user must install debug probe drivers manually since this requires administrator privileges. This will be improved in future updates.
When setting up STM32CubeIDE for Visual Studio Code, installing the necessary drivers is crucial for proper communication between the development board and the computer. Below are detailed instructions for installing drivers for both ST-Link and SEGGER J-Link.
Installing ST-Link USB Drivers 
-
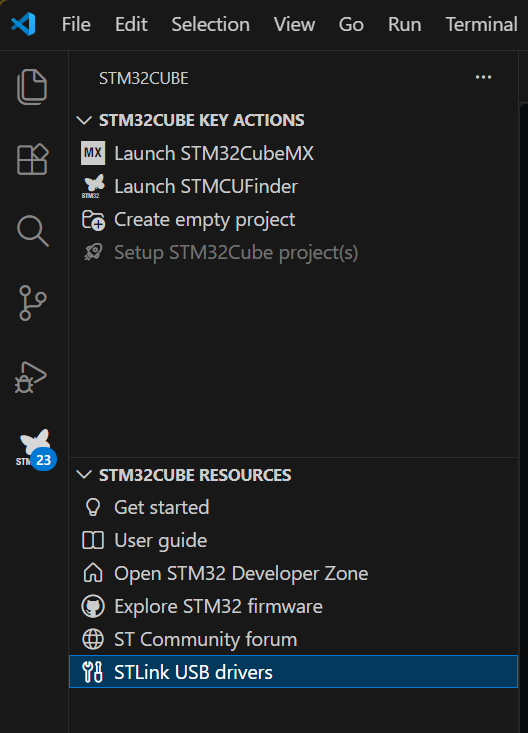
Access STM32CubeIDE for Visual Studio Code Extension : Navigate to the STM32CubeIDE for Visual Studio Code extension by clicking on the STM32CubeIDE for VS Code icon in the Activity Bar.
-
Locate STM32Cube Resources : Within the extension, find the section labeled “STM32Cube Resources.”
-
Install ST-Link USB Drivers : Click on “STLink USB Drivers” to begin the installation process, ensuring the ST-Link interface is correctly set up for communication with the STM32 development board.
Installing SEGGER J-Link Drivers 
-
Visit SEGGER’s Website : Go to the SEGGER J-Link driver download page at SEGGER J-Link Drivers.
-
Download the J-Link Software and Documentation Pack : Select the appropriate package for the operating system and download it.
-
Install the Drivers : Follow the installation instructions provided by SEGGER to install the J-Link drivers on the computer.