STM32CubeIDE

STM32CubeIDE installation (macOS®) 
This section describes how to install the STM32CubeIDE product on macOS®.
Note: The installation is done through a product installer. Make sure that the user account, from which the installer is launched, has administrative privileges.
Proceed as follows:
1. Launch the product installer (
.dmg
file)
stm32cubeide_VERSION-Mac-ARCHITECTURE.dmg
where:
–
VERSIONis the actual product version and build date.Example:
2.2.0_2026_20190221_13091309–
ARCHITECTUREis the architecture of the target host computer to run STM32CubeIDE . Example:x86_64 or aarch64
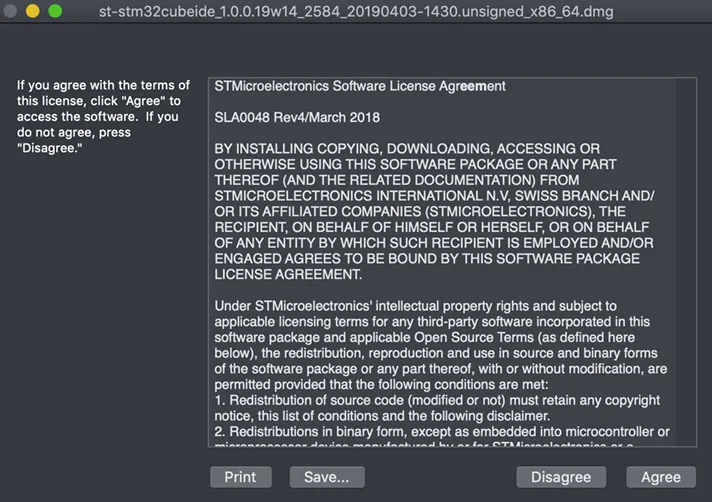
Read the license agreement. Click on [Agree] to accept the terms of the agreement, or [Disagree] to abort the installation. If the agreement is accepted, the installation wizard continues.
Figure 8. License agreement dialog (macOS®)
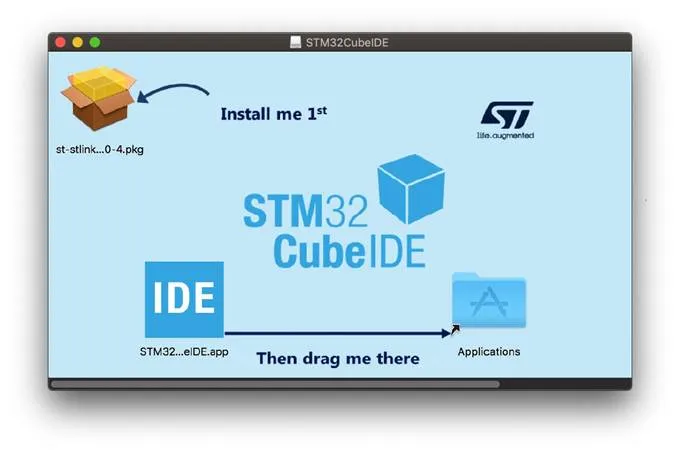
Wait for the installation welcome page to appear.
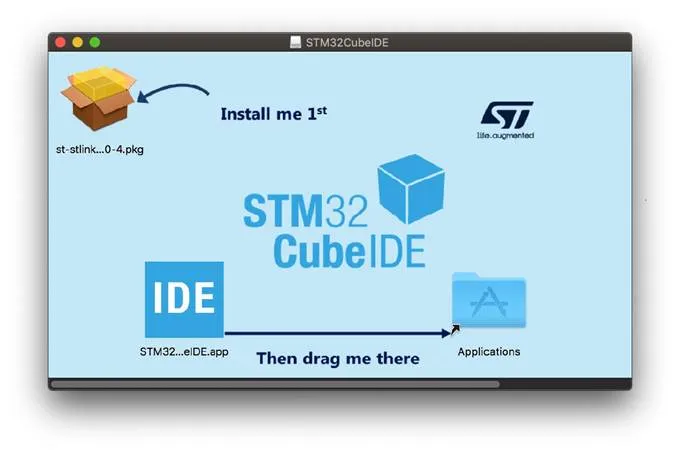
Double click on the
.pkgfile indicated with the curved arrow and text stating “Install me 1st”.
Figure 9.Installation welcome page (macOS®)
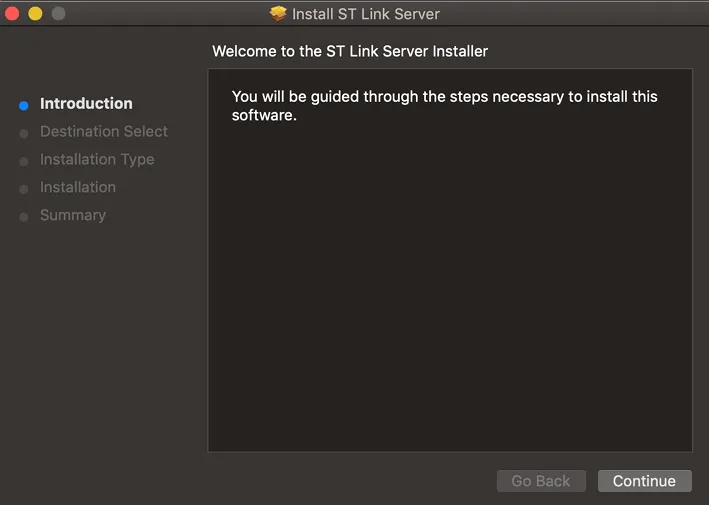
This installation is required and installs the ST Link Server. Click on the [Continue] button.
Figure 10.ST Link Server welcome page (macOS®)
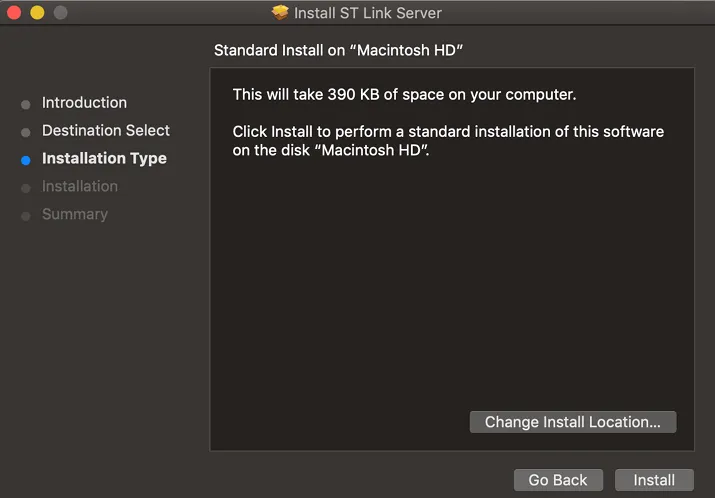
In this dialog, select the location for the installation of the ST Link Server.
Click on [Install]. Log in to authorize the installation if prompted to do so.
If a warning is displayed stating “This package is incompatible with this version of macOS and may fail to install”, click on [Install Anyway].
Figure 11.ST Link Server installer location dialog (macOS ®)
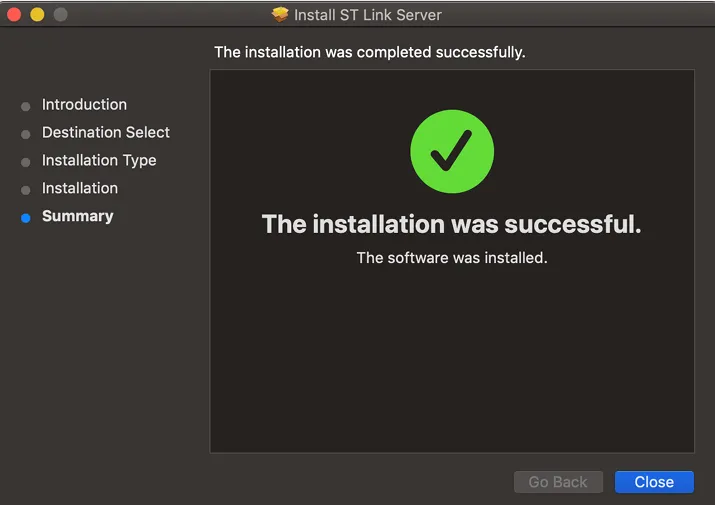
Click on [Close] and continue the installation of the STM32CubeIDE product.
Figure 12. ST Link Server installation finished (macOS ®))
10.After successfully installing ST Link Server, drag the STM32CubeIDE icon to the Applications folder as indicated by the straight arrow.
Figure 13. STM32CubeIDE install page (macOS ®)
Wait for the installation to finish. When done, it is possible to launch STM32CubeIDEfrom the Launchpad by clicking on the IDE icon.
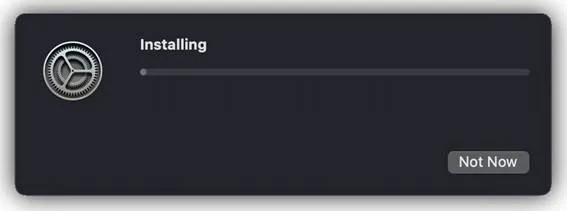
Figure 14. Installation progress bar (macOS ®)

Rosetta® installation on M1-based computers 
To install STM32CubeIDE on an M1-based computer running macOS®, the user is prompted to install Rosetta® for the STM32CubeIDE installation to proceed.
After accepting to install Rosetta®, the user credentials must be entered (see Figure 14), after which Rosetta® installation starts (see Figure 15).
Figure 15. Authentication window for Rosetta® installation
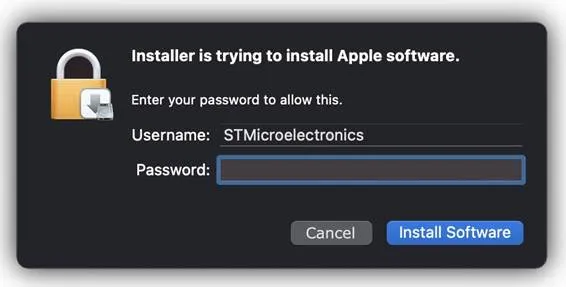
Figure 16. Rosetta® installation proceeding