STM32CubeIDE

STM32CubeIDE installation (Windows®) 
This section describes how to install the STM32CubeIDE product on Microsoft® Windows®.
Note: The installation is done through a product installer. Make sure that the user account, from which the installer is launched, has administrative privileges.
Proceed as follows:
Launch the product installer (
.exefile)
stm32cubeide_VERSION-Win-ARCHITECTURE.exe
where:
–
VERSIONis the actual product version and build date. Example:2.2.0_2026_20190221_1309–
ARCHITECTUREis the architecture of the target host computer to run STM32CubeIDE. Example:x86_64If, when launching the product installer, it reports an attempt to install a version that is already installed:
Launch the register dialog by typing regedit.exe in the search bar
Remove registry key
HKEY_LOCAL_MACHINE\\SOFTWARE\\WOW6432Node\\STMicroelectronics\\STM32CubeIDE
During the installation process, the operating system may display a dialog stating:
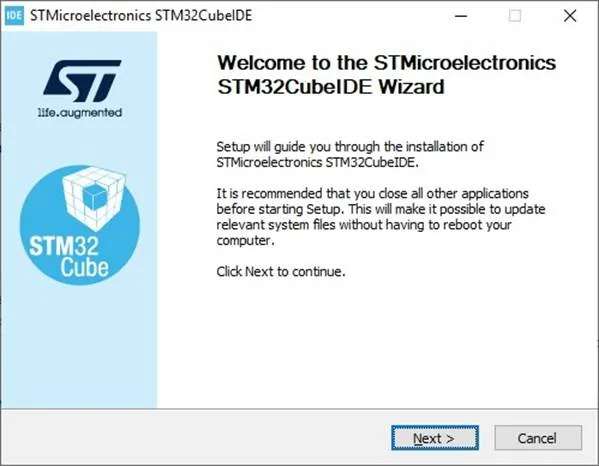
“Do you want to allow this app to make changes to your device?”with info“Verified publisher: STMicroelectronics Software AB”. Accept ([YES]) to let the installer continue.Wait for the installer Welcome dialog to be displayed and click on [Next >].
Figure 1. Installer welcome page (Windows®)
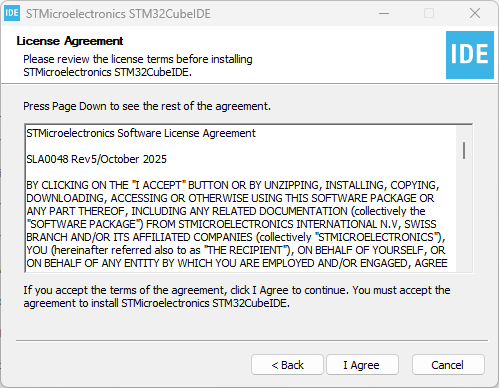
Read the license agreement. Click [I Agree] to accept its terms, or [Cancel] to abort the installation. If you accept the agreement, the installation wizard continues.
Figure 2. License agreement dialog (Windows®)
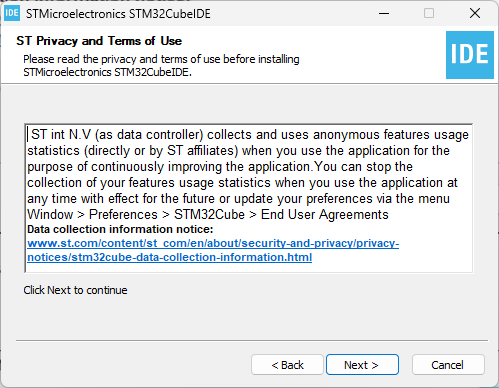
Review the privacy notice and terms of use, then click [Next >].
Figure 3. Privacy and terms of use dialog (Windows®)
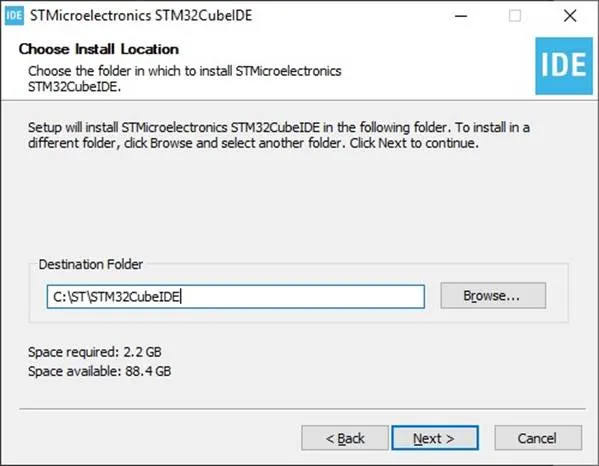
Select the installation location. Choose a short path to avoid Windows path-length limitations.
Figure 4. Installation location dialog (Windows®)
Wait for the Choose Components dialog to be displayed. Select the GDB Server components to be installed together with STM32CubeIDE.A server is needed for each type of JTAG probe used for debugging with STM32CubeIDE.
Figure 5. Selection of components dialog (Windows®)
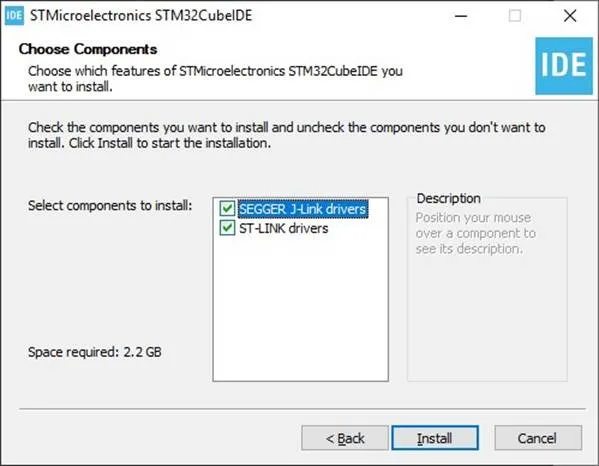
Click on [Install] to start the installation. The drivers that were selected are installed in parallel with this installation of STM32CubeIDEfrom here on.
Figure 6. Installation successful (Windows®)

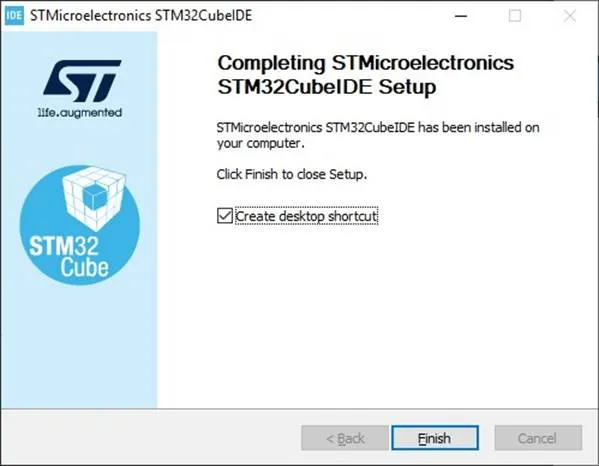
Click on [Next] to continue to the final step of the installation process. That is a Confirmation dialog informining the user that the installation is finished. Once the user clicks on [Finish], the installation process in complete.
Figure 7. Installation finished (Windows®)