
 STM32CubeProgrammer

OTP programming window 
The OTP window is available exclusively for MPUs and STM32N6 devices. It
extracts the OTP partition
[ID


           0xF2]
using the STMPRGFW-UTIL interface to
read, display, and fuse the OTP registers.
STM32MP1xx devices have 3072 OTP (one-time programmable) bits, which can be
read-accessed in 96 words:
OTPx
with
x


           =


           0
to
95. STM32MP2xx and
STM32N6 devices have 368 words:
OTPx
with
x


           =


           0
to
367.
Some OTP words are programmed during manufacturing for product differentiation or keys.
Note
The OTP window is accessible through USB/UART interfaces for STM32MP. For STM32N6 it is available via Debug/USB/UART interfaces.
The UI has six main goals:
Get OTP structure information.
Read and display words in table view format.
Edit and fuse OTP registers.
Lock specific or all words.
Program binary files, frequently for key fuse operations.
Save the OTP partition in an output binary file for debug.
Open the OTP window by pressing the
OTP
button from the main window to
start reading the OTP partition. When this is correctly executed, the words are
displayed in table view.
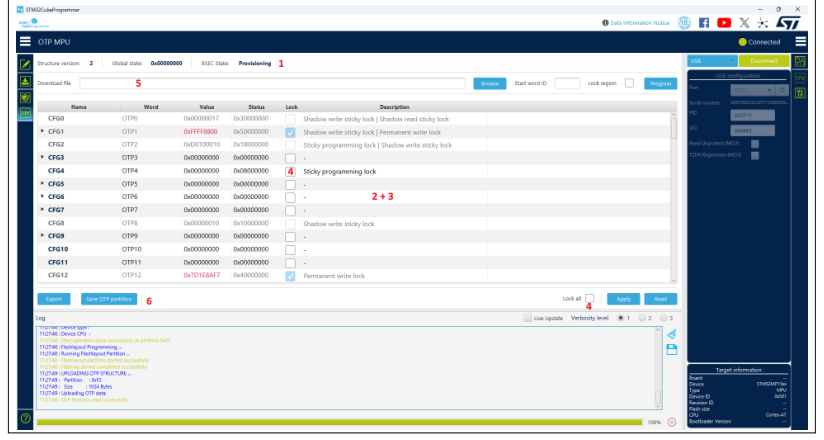
Fig. 95 OTP MPU window 
Get OTP structure information 
This section displays an overview of the connected device.
Structure version.
Global state.
State: Secure open / Secure closed / Invalid.
Note
The OTP UI is available only for structure version 2.
Read and display words 
After checking the OTP partition, the tool decodes and shows the words in table view format including the following columns:
Name: OTP word name.
Word: OTP word ID as a tree component.
Value: hexadecimal value, shown in red for locked words, as editable field.
Status: hexadecimal value.
Lock: indicates the lock state of the considered word as a checkbox component. It is checked if the item is locked, otherwise it is unchecked. The column is disabled if the item is in permanent write lock state.
Description: decodes the status of the OTP word and displays a brief description for children items.
Note
Press the
Read
button to refresh all table fields or discard changes.
Edit and fuse words 
It is possible to directly edit the
Value
table cell to write a new value.
Press
Enter
after each change. The tool verifies the syntax of the input
item to respect hexadecimal format and item width, then it checks the locking
state of the current item before starting fusing.
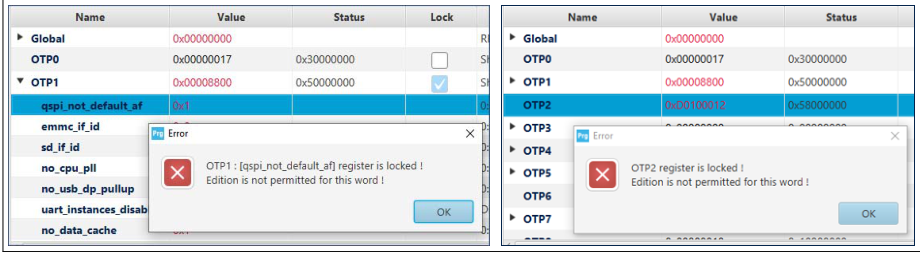
Fig. 96 Edit denial for locked words 
After modification, press the
Apply
button and confirm the operation to
start the update and refresh the table view.
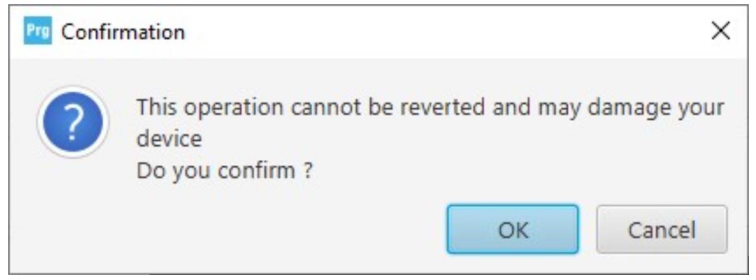
Fig. 97 Program Apply confirmation 
Lock specific/all words 
The lock operation allows the user to close write programming against any
modification of the considered OTP word. It is possible to lock several words
in one shot by setting the assigned checkboxes, then clicking
Apply
to
start the operation.
Note
To go faster to the initial OTP lock state, it is recommended to press the
Read
button.
It is possible to lock all words at once by setting the
Lock


            all
checkbox.
A message pops up asking to confirm the start of the procedure, which results
in all words being closed and no further changes allowed.
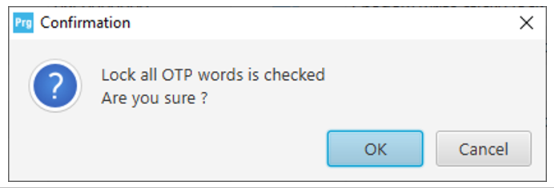
Fig. 98 Lock all words confirmation 
If the operation is successful, the table view is disabled for all
Lock
columns.
Program binary file 
This section contains different graphical components needed to program a binary file on the OTP registers starting from a word ID, based on the following steps:
- Choose the adequate binary file with
.binextension by clicking Browse.
- Choose the adequate binary file with
Mention the start word ID in decimal format from 0 to 95.
- Check or uncheck the
Lock regioncheckbox to indicate the operation type, update or permanent write lock.
- Check or uncheck the
Press the
Programbutton to start the download flow.
If the procedure is completed correctly, an informational dialog appears to confirm that the operation is completed.
Note
The input binary is a 32-bit aligned file. The tool adds padding values if the file is not aligned, and a warning message is displayed in the log panel.
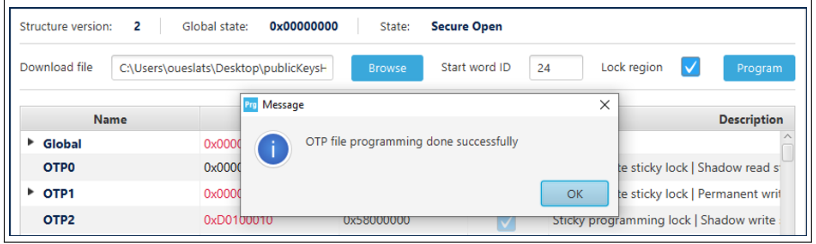
Fig. 99 Download binary file 
Save OTP partition 
The user can save the whole current OTP partition in a binary file with
.bin
extension, which can be used for future analysis or to archive the
current device configuration.
Press
Save
OTP
partition
and choose the desired output name and directory.
If the save is completed correctly, an informational dialog appears to confirm
that the operation is completed.
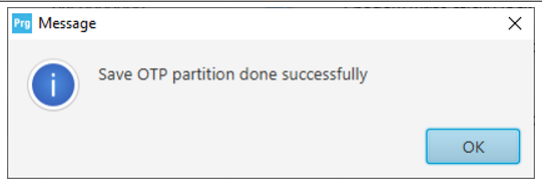
Fig. 100 Save OTP partition 
Note
The size of the output file must be 1024 bytes.
U-Boot program must be installed before launching the OTP window, which is
necessary to expose the OTP partition.
Words 32 to 95 do not have child fields, can be edited only once, and must
be permanently locked after programming.
Word editing and lock operation can be performed at the same time after
clicking
Apply.